One of the most challenging things about owning solid-body wooden dummies (vs laminated wood dummies) is trying to maintain the humidity so that they do not start checking (cracking). (Personally, I think you should get it out of your head that you will keep a solid-body dummy in perfect condition. Don’t even expect to.) If you are tired of maintaining the environment for your dummy, or simply don’t even want to try, here is an idea for you.
The Problem:
Wood will always try to absorb or shed its water content to match that of the surrounding air. If the humidity in the air drops quickly, then the wood will try to expel its excess water content as well. This mechanism can cause warping/bending/swelling in thinner pieces of wood (especially in things like long poles), and checking in more substantial logs (due to the different type of cells from the tree shedding water at different rates and pulling apart as they contract). Again, the ONLY reason a dummy will crack is that the humidity dropped too fast for the wood to keep up (which is why drying wood is a prolonged process).
The Normal Solution:
If you own a solid-body dummy, we recommend you get a hygrometer and try to keep the dummy in a 50-60% humidity (which is also great for humans). Avoid situations that drop the humidity quickly (common culprits: too much sunshine, turning on the air conditioner in the summer or heaters in the winter).
If your dummy is starting to crack, you can simply raise the humidity (and/or drastically lower the temperate). No matter what the starting humidity, 40, 60, 80% or etc, we tend to see the checking start after a quick 20%+ drop. (This is a very general observation, but happens way more than you would think).
Also, if you add 3-4 coats of varnish/polyurethane/etc over the dummy inside and out, it helps prevent the wood from absorbing or shedding water too quickly. It is not fool-proof but does seem to help. Teak or similar oils work well for unvarnished dummies.
These ideas work well to prevent cracking, but that always leaves you having to manage the humidity. If your dummy cracked on your once, then managing the environment is probably something that is more troublesome than it is worth.
The New Idea – Make it Art!:
In recent years, however, we’ve realized that most people are not able to take care of solid-body dummies properly. This is also true of a lot of the expensive solid-wood furniture that is popular these days – I’ve seen 4-5 friend’s expensive solid-wood table tops split and crack when the weather changes or they move.
So for those of you that want a solid-body dummy (they are the most beautiful and have the best energy, in our opinion), we wanted to offer you an alternative solution. If the dummy starts to crack, let it do so thoroughly and then repair it with Epoxy Resin.
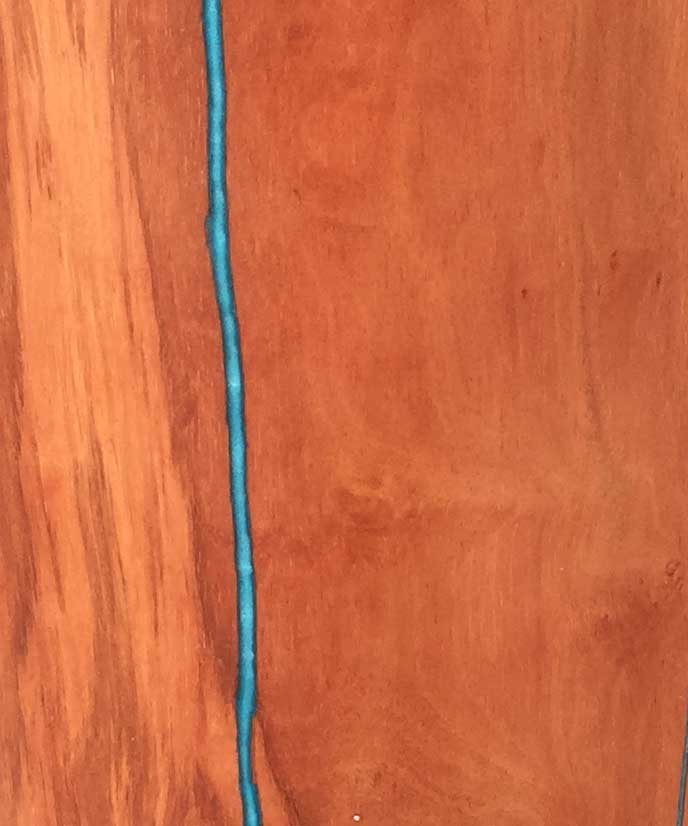
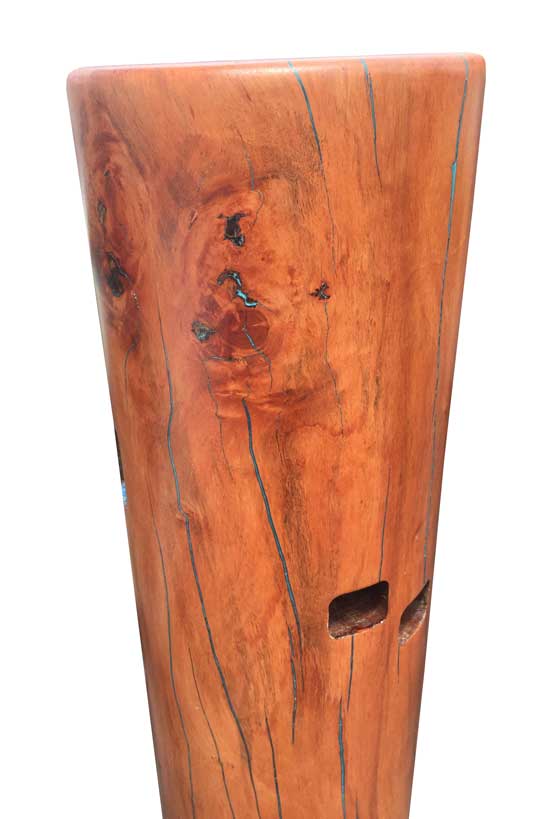
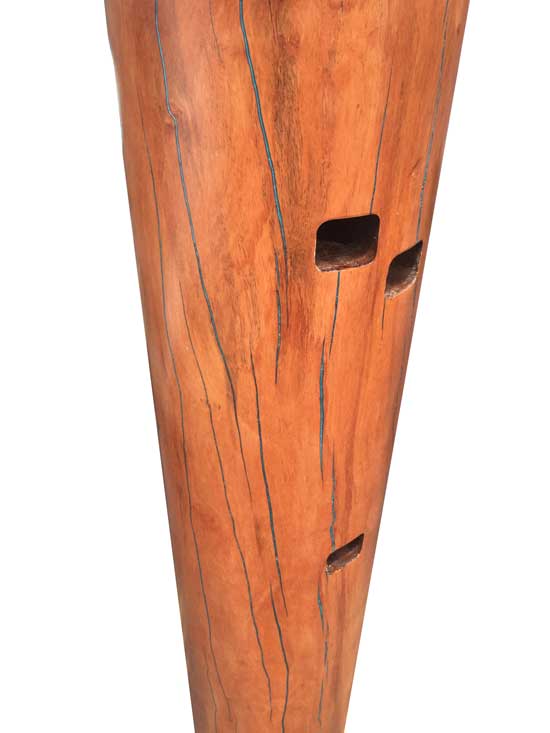
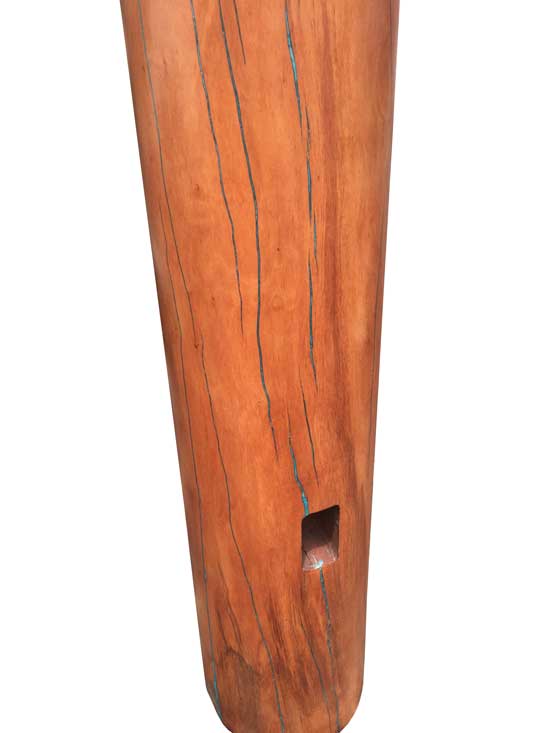
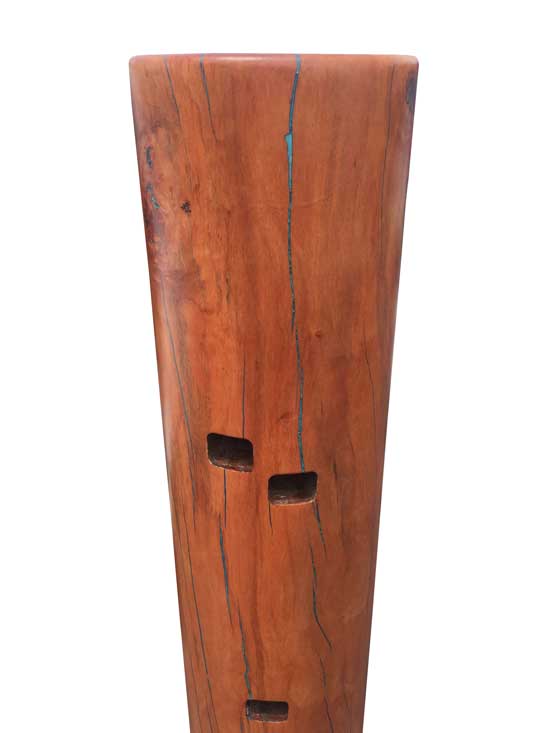
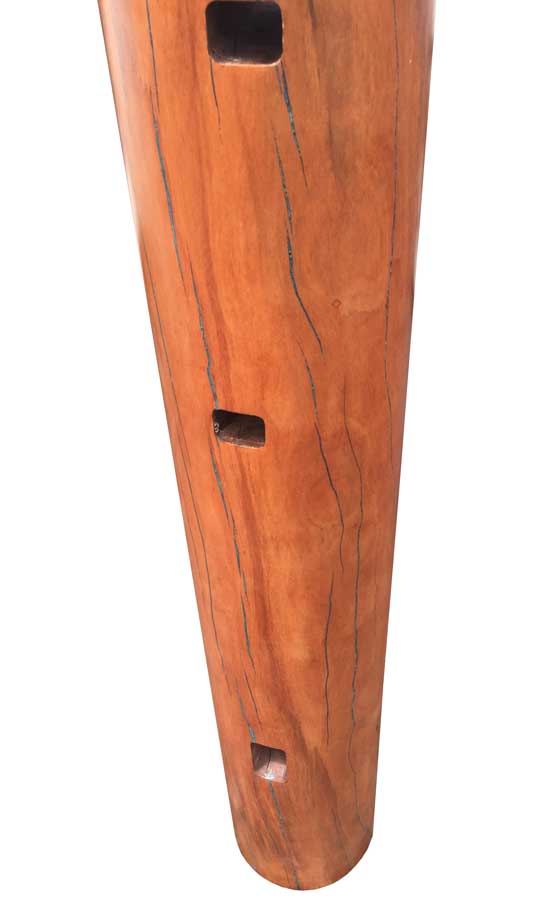
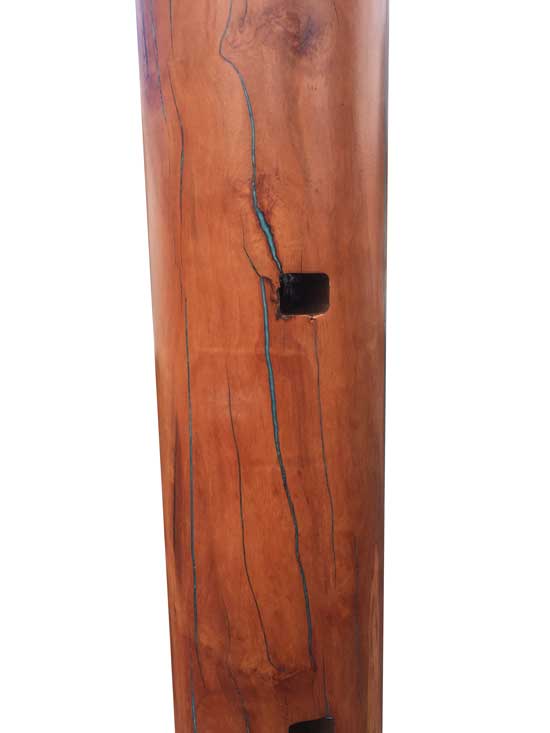
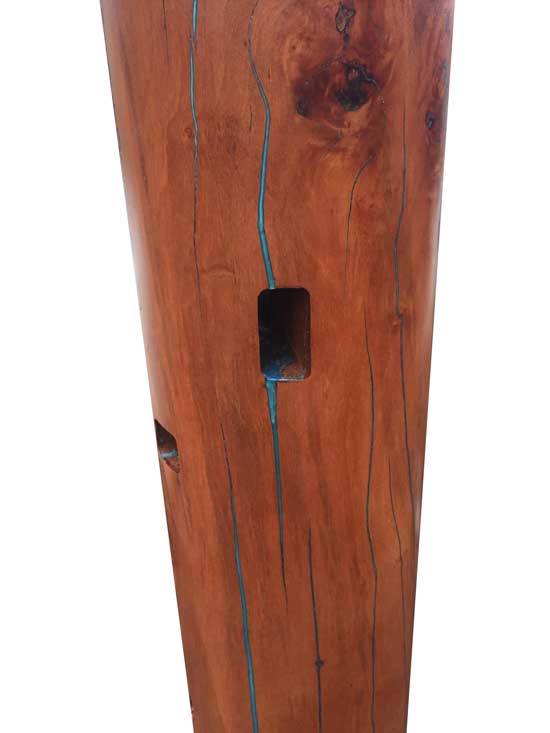
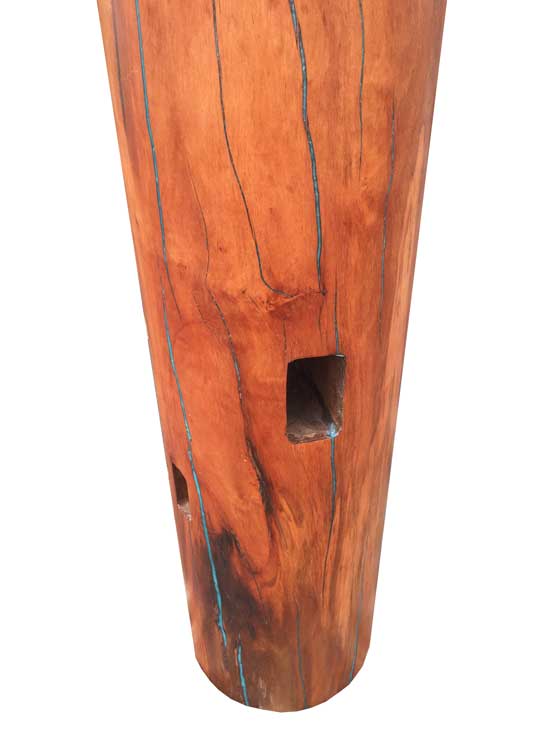
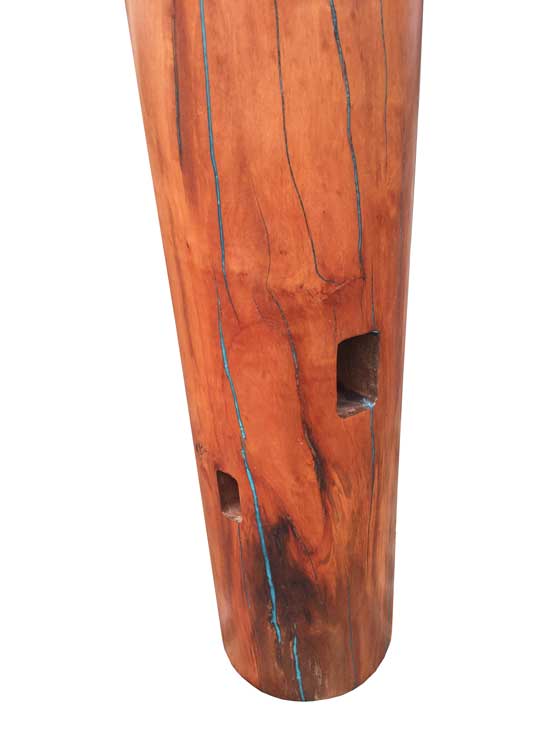
We have attached some quick examples we pulled from the web to illustrate what we are referring to. Use them as an idea of what you can do with your dummy (the wood in the examples is cracked FAR worse than a dummy ever would be). You can find videos on how to do this on YouTube. We pulled the example pictures from: https://www.etsy.com/shop/Tcavanwoodworks. Their work gives a good idea of how you can do your own repairs:
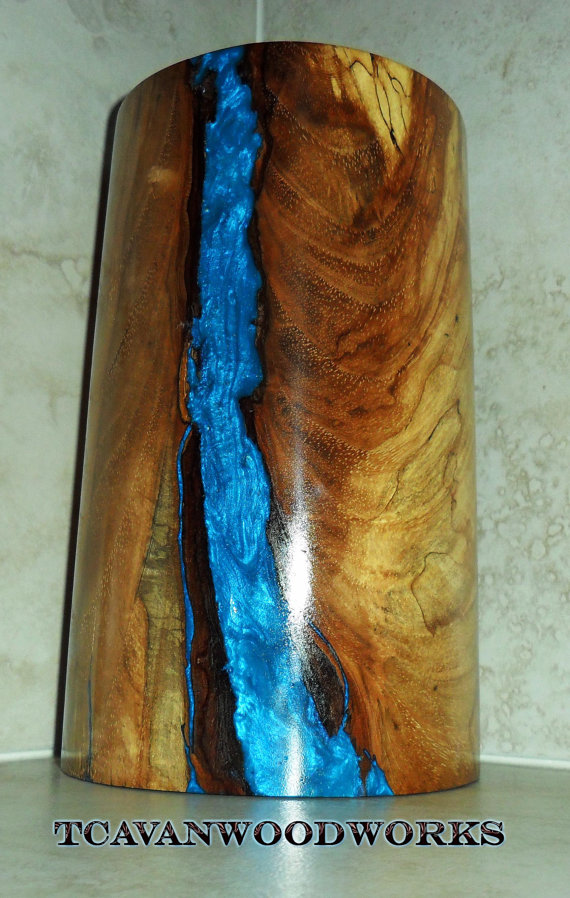
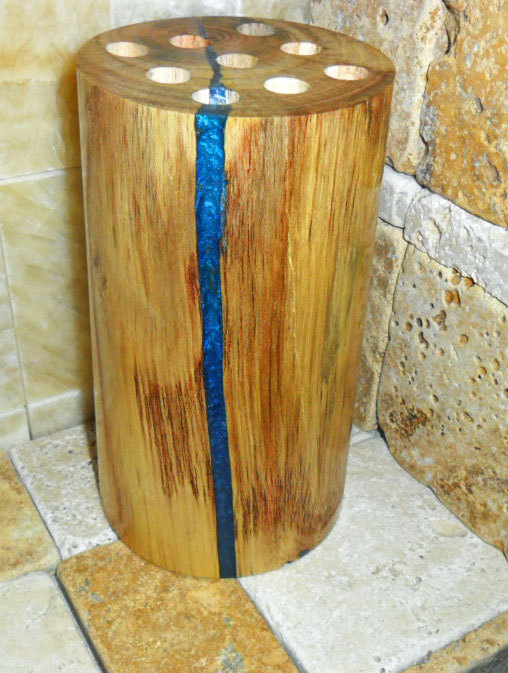
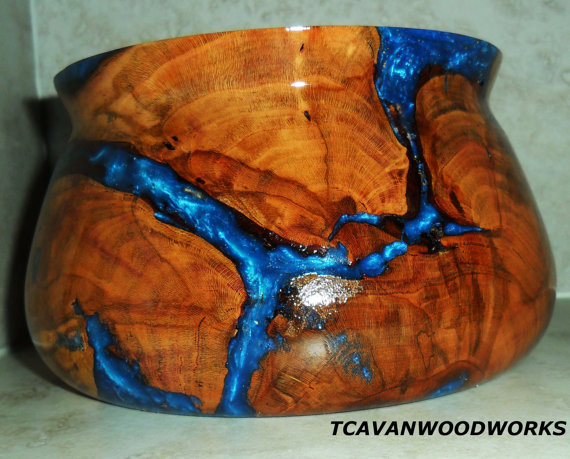
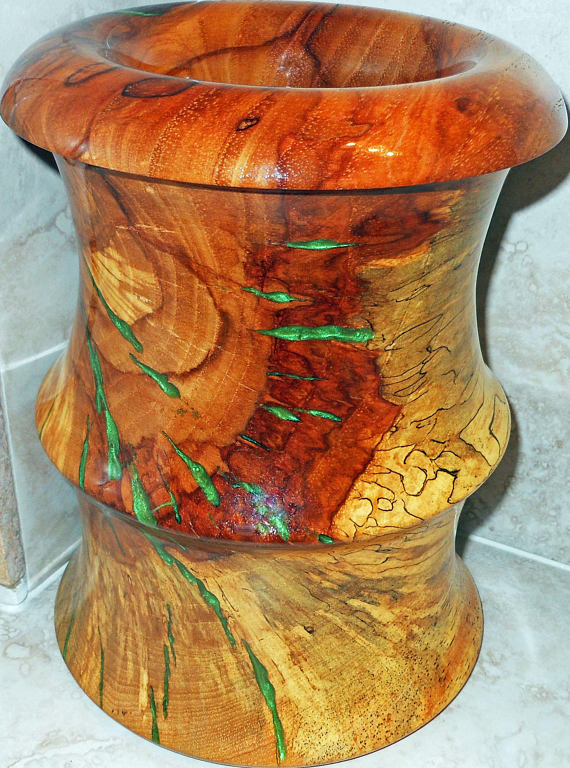
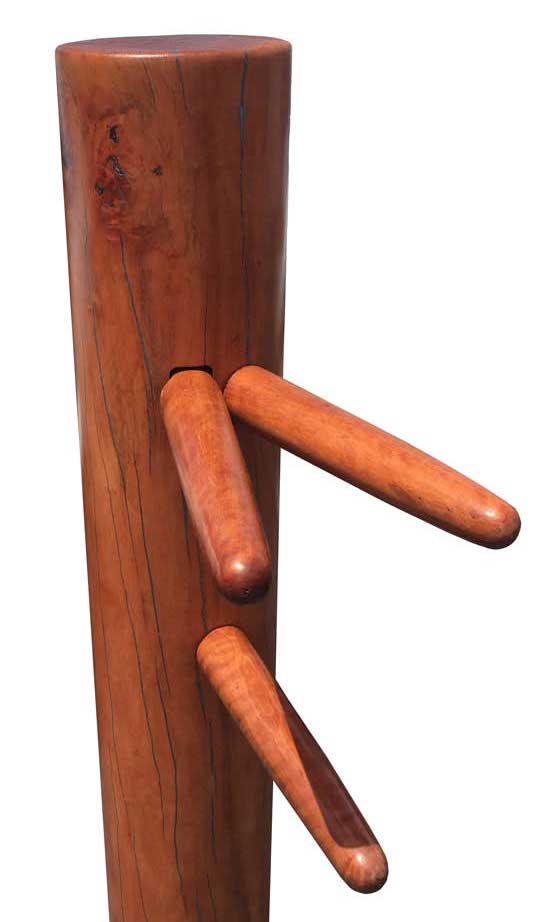
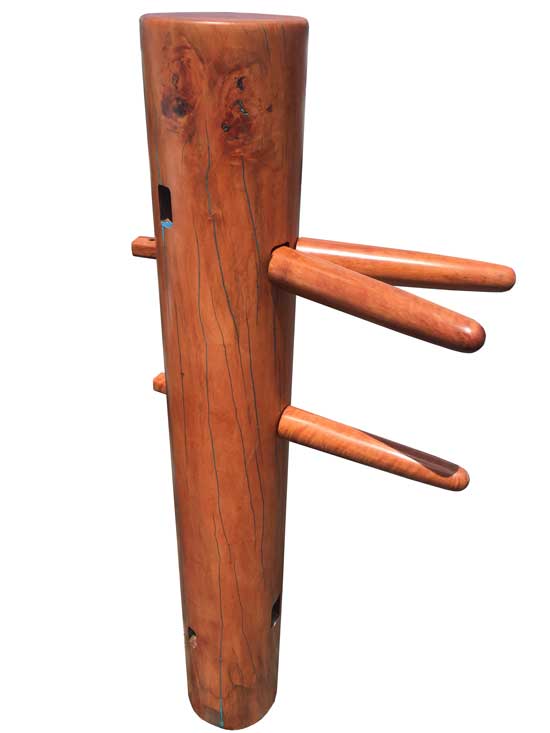
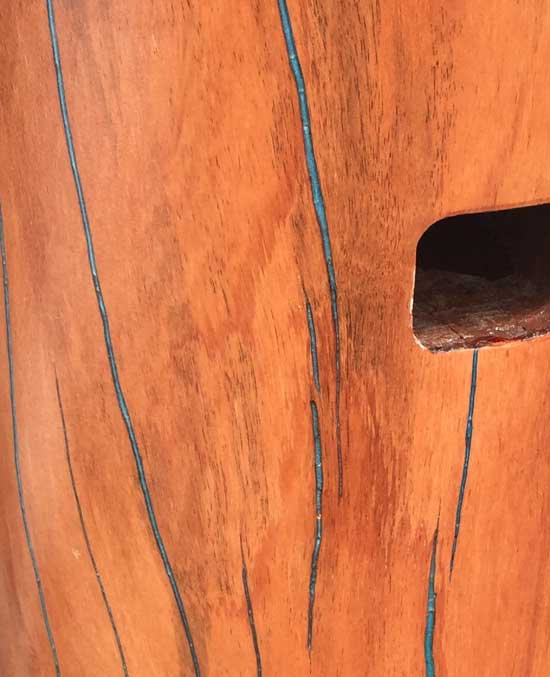
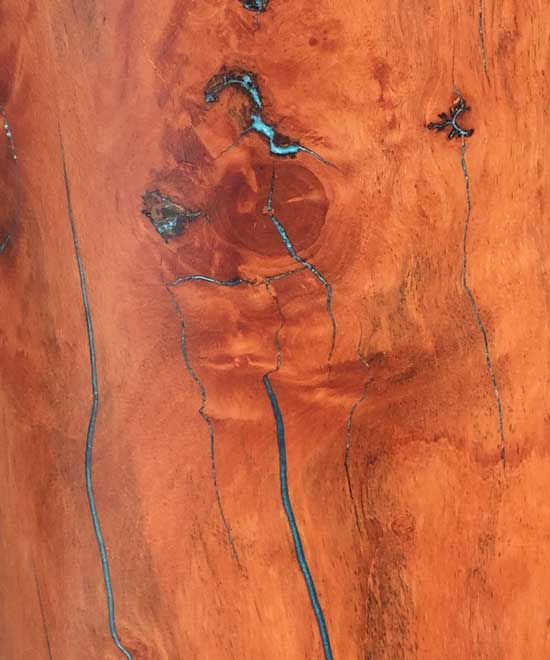
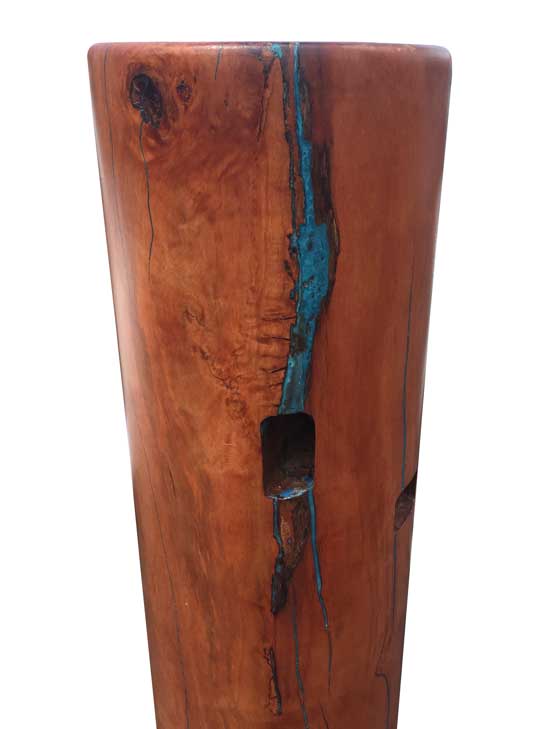
Once the dummy cracks fully it is unlikely it should never do so again. Rarely does the cracking affect the structural integrity or widen more than a few millimeters. You can use clear epoxy, try to color match, mix epoxy with sawdust taken from the bottom of the dummy, or use colored epoxy. Our personal favorite is blue :) It will undoubtedly turn your cracked dummy from an eye-sore into a real work of art everyone will be oohing and aahing over. Just type in something like, “epoxy wood trunk”, “blue epoxy wood”, “resin wood trunk” or etc into Google Images and you will get a plethora of ideas.
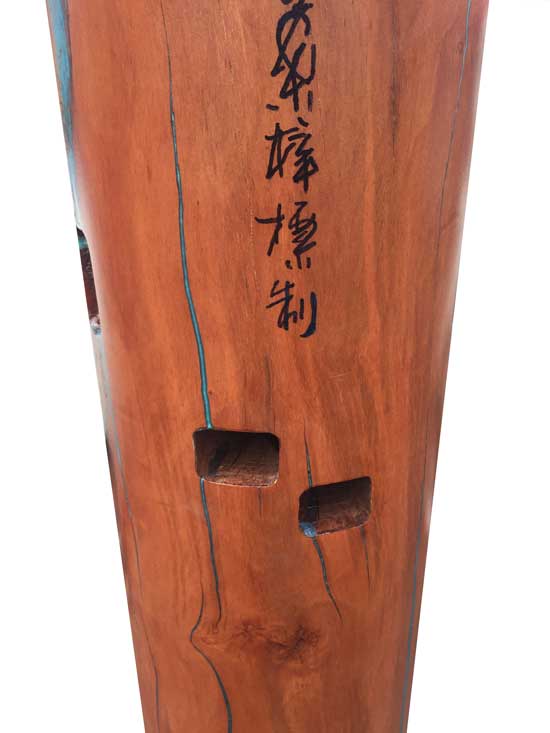
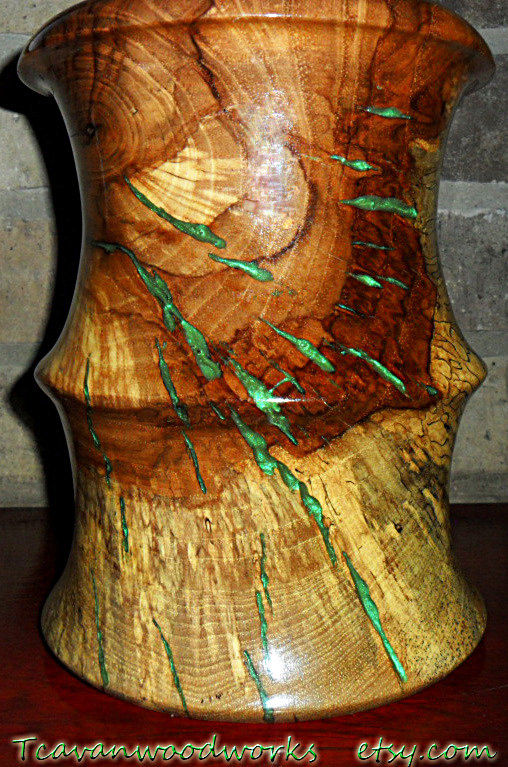
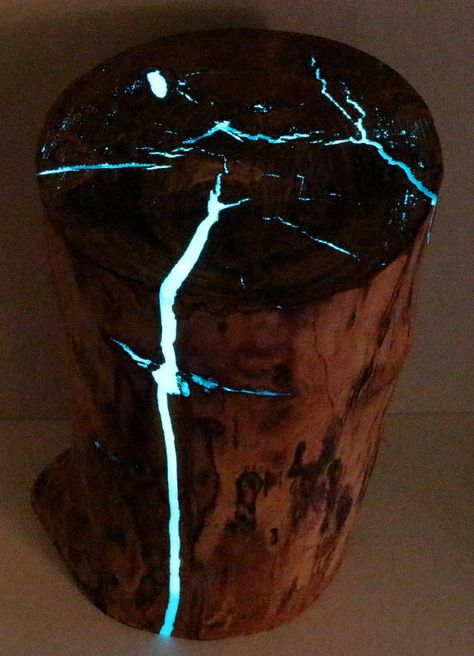
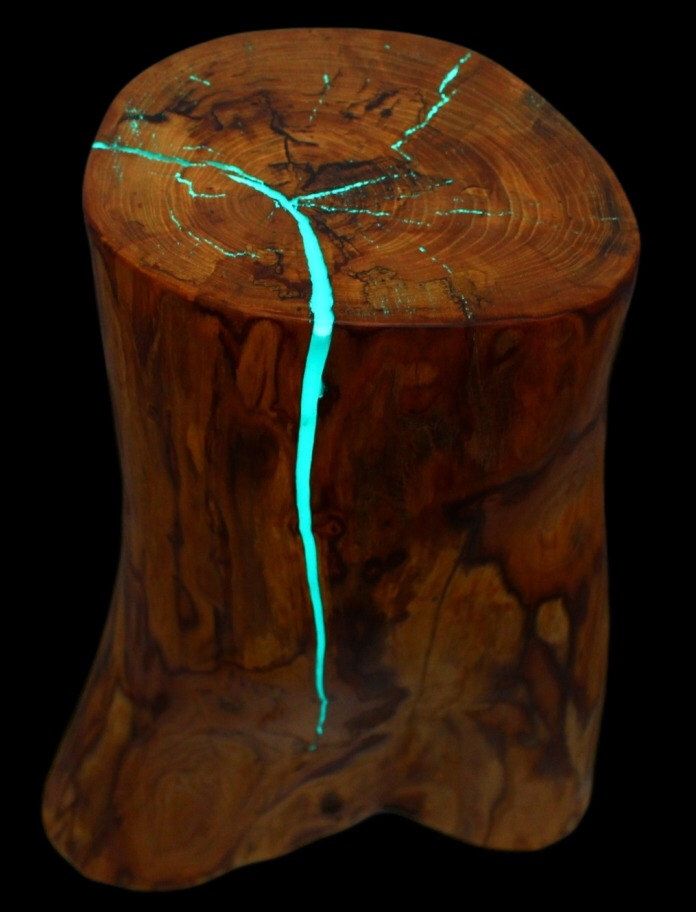
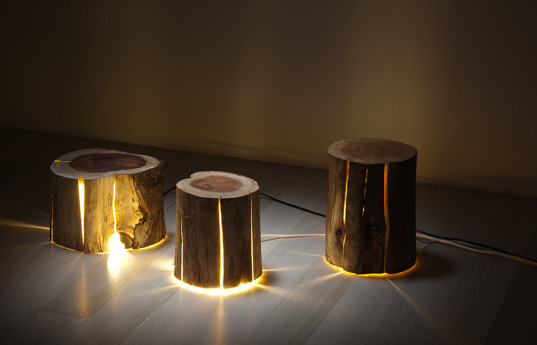
If you are ambitious, you can use glow-in-dark resins or add lights into the cracks behind the epoxy to create a glow coming from the inside. Here are a few more sent to us from projects customers are attempting to duplicate with their dummies:

We hope this gives you some good ideas on how to repair your dummy if it ever cracks on you! If you want to prevent the cracking at all costs, then monitor the environment and protect the dummy with oils/varnish. If you repair your dummy in this manner, please send us some pictures, we’d love to see it!
Here is an example. This dummy was repaired after putting it under heat to crack it on purpose: